news

LED Display LED Bead Repair and Replacement Steps

6 views admin 2026-10-07
  • I. Prepare Tools and Materials
 
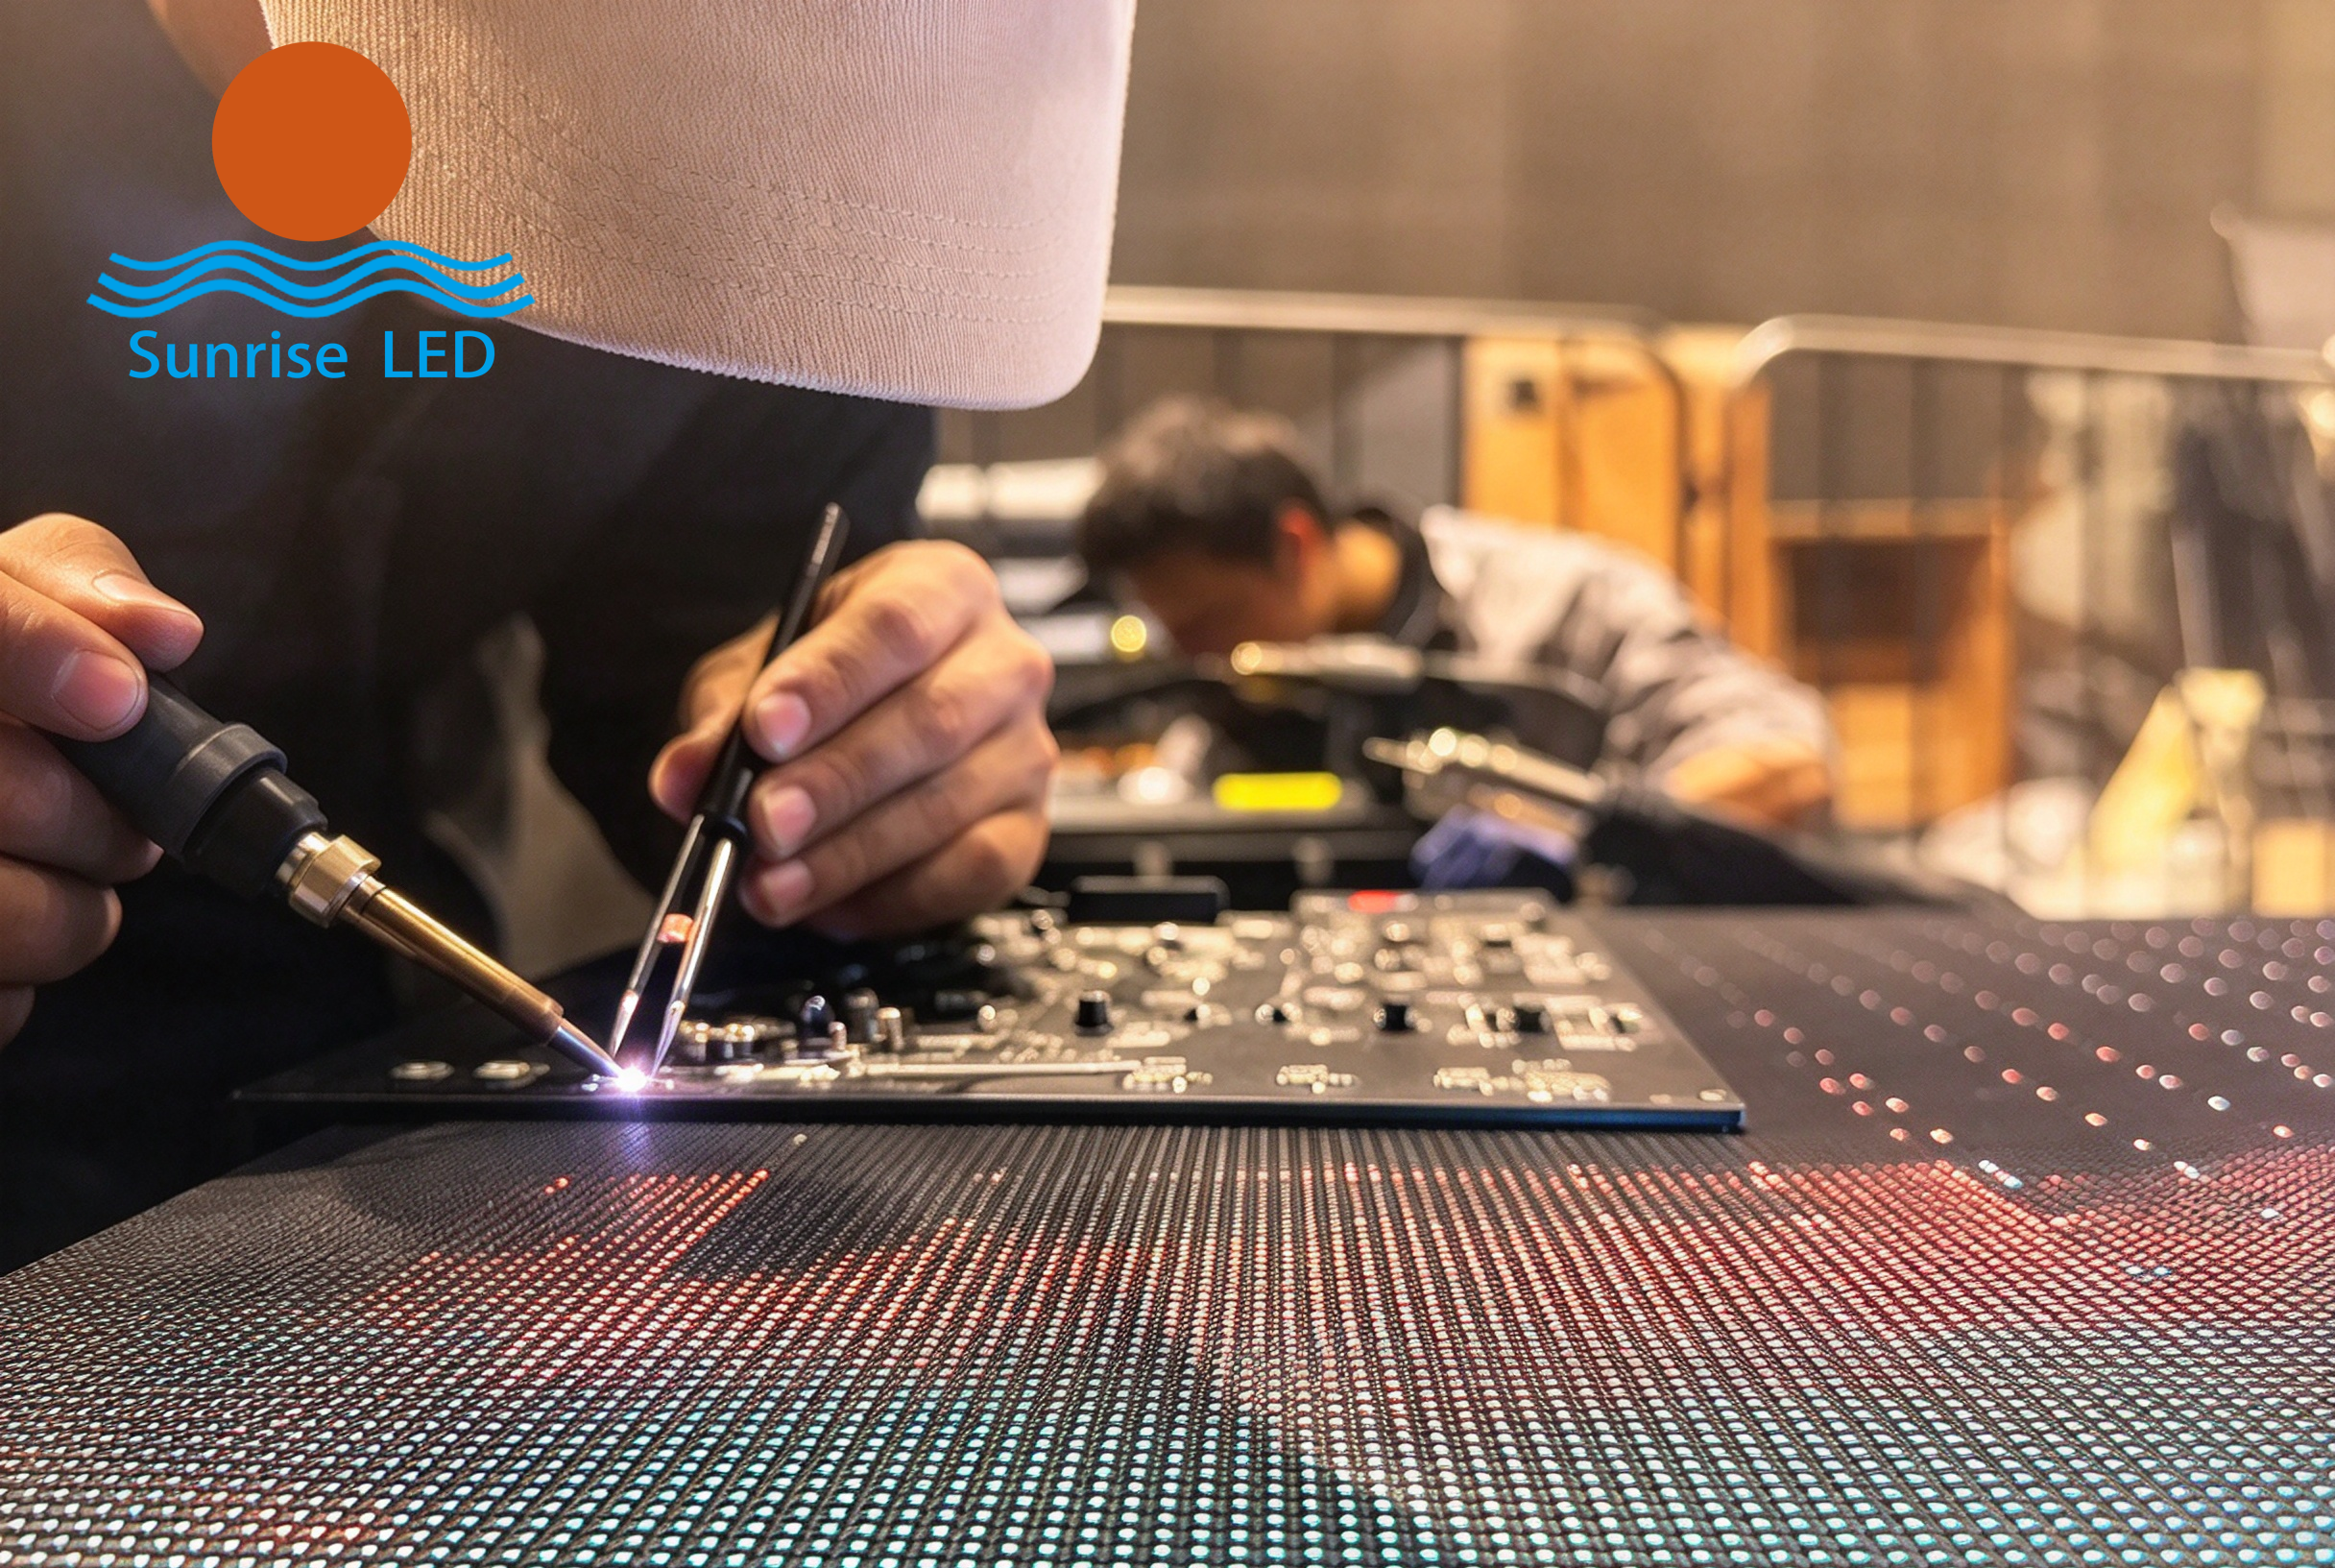
  • Heat gun (recommended 300–350°C, medium-low airflow) / temperature-controlled fine-tip soldering iron, anti-static wrist strap, anti-static tweezers, flux paste, desoldering braid.
 
  • Same-model LED beads (must match: model, RGB pin definition, size).
 
  • Multimeter, module test card, marker.
 
  • For outdoor screens additionally: waterproof silicone, utility knife (for removing waterproof glue).
  • II. Power Off + Remove the Module
 
  • Power off the entire screen and wait at least 60 seconds for capacitors to discharge. Never unplug ribbon cables or power terminals while powered.
 
  • Front-maintenance screen: use a suction cup to attach to the mask and remove the module; for rear maintenance, directly remove the cabinet screws.
 
  • Remove the mask and mark the location of the faulty LED bead. For outdoor modules, first carefully remove the waterproof glue on the surface of the LED bead; do not scratch the PCB pads.
  • III. Confirm the Fault and Rule Out False Failures
 
  • Connect the test card and cycle the full screen through red, green, blue, and white to confirm it is a single dead LED bead, not a ribbon cable, driver IC, or power supply fault.
  • Use a multimeter to measure the LED bead pins to confirm the LED bead itself is damaged, avoiding unnecessary removal.
  • IV. Remove the Damaged LED Bead (Heat Gun Recommended, Preferred for Fine-Pitch)
 
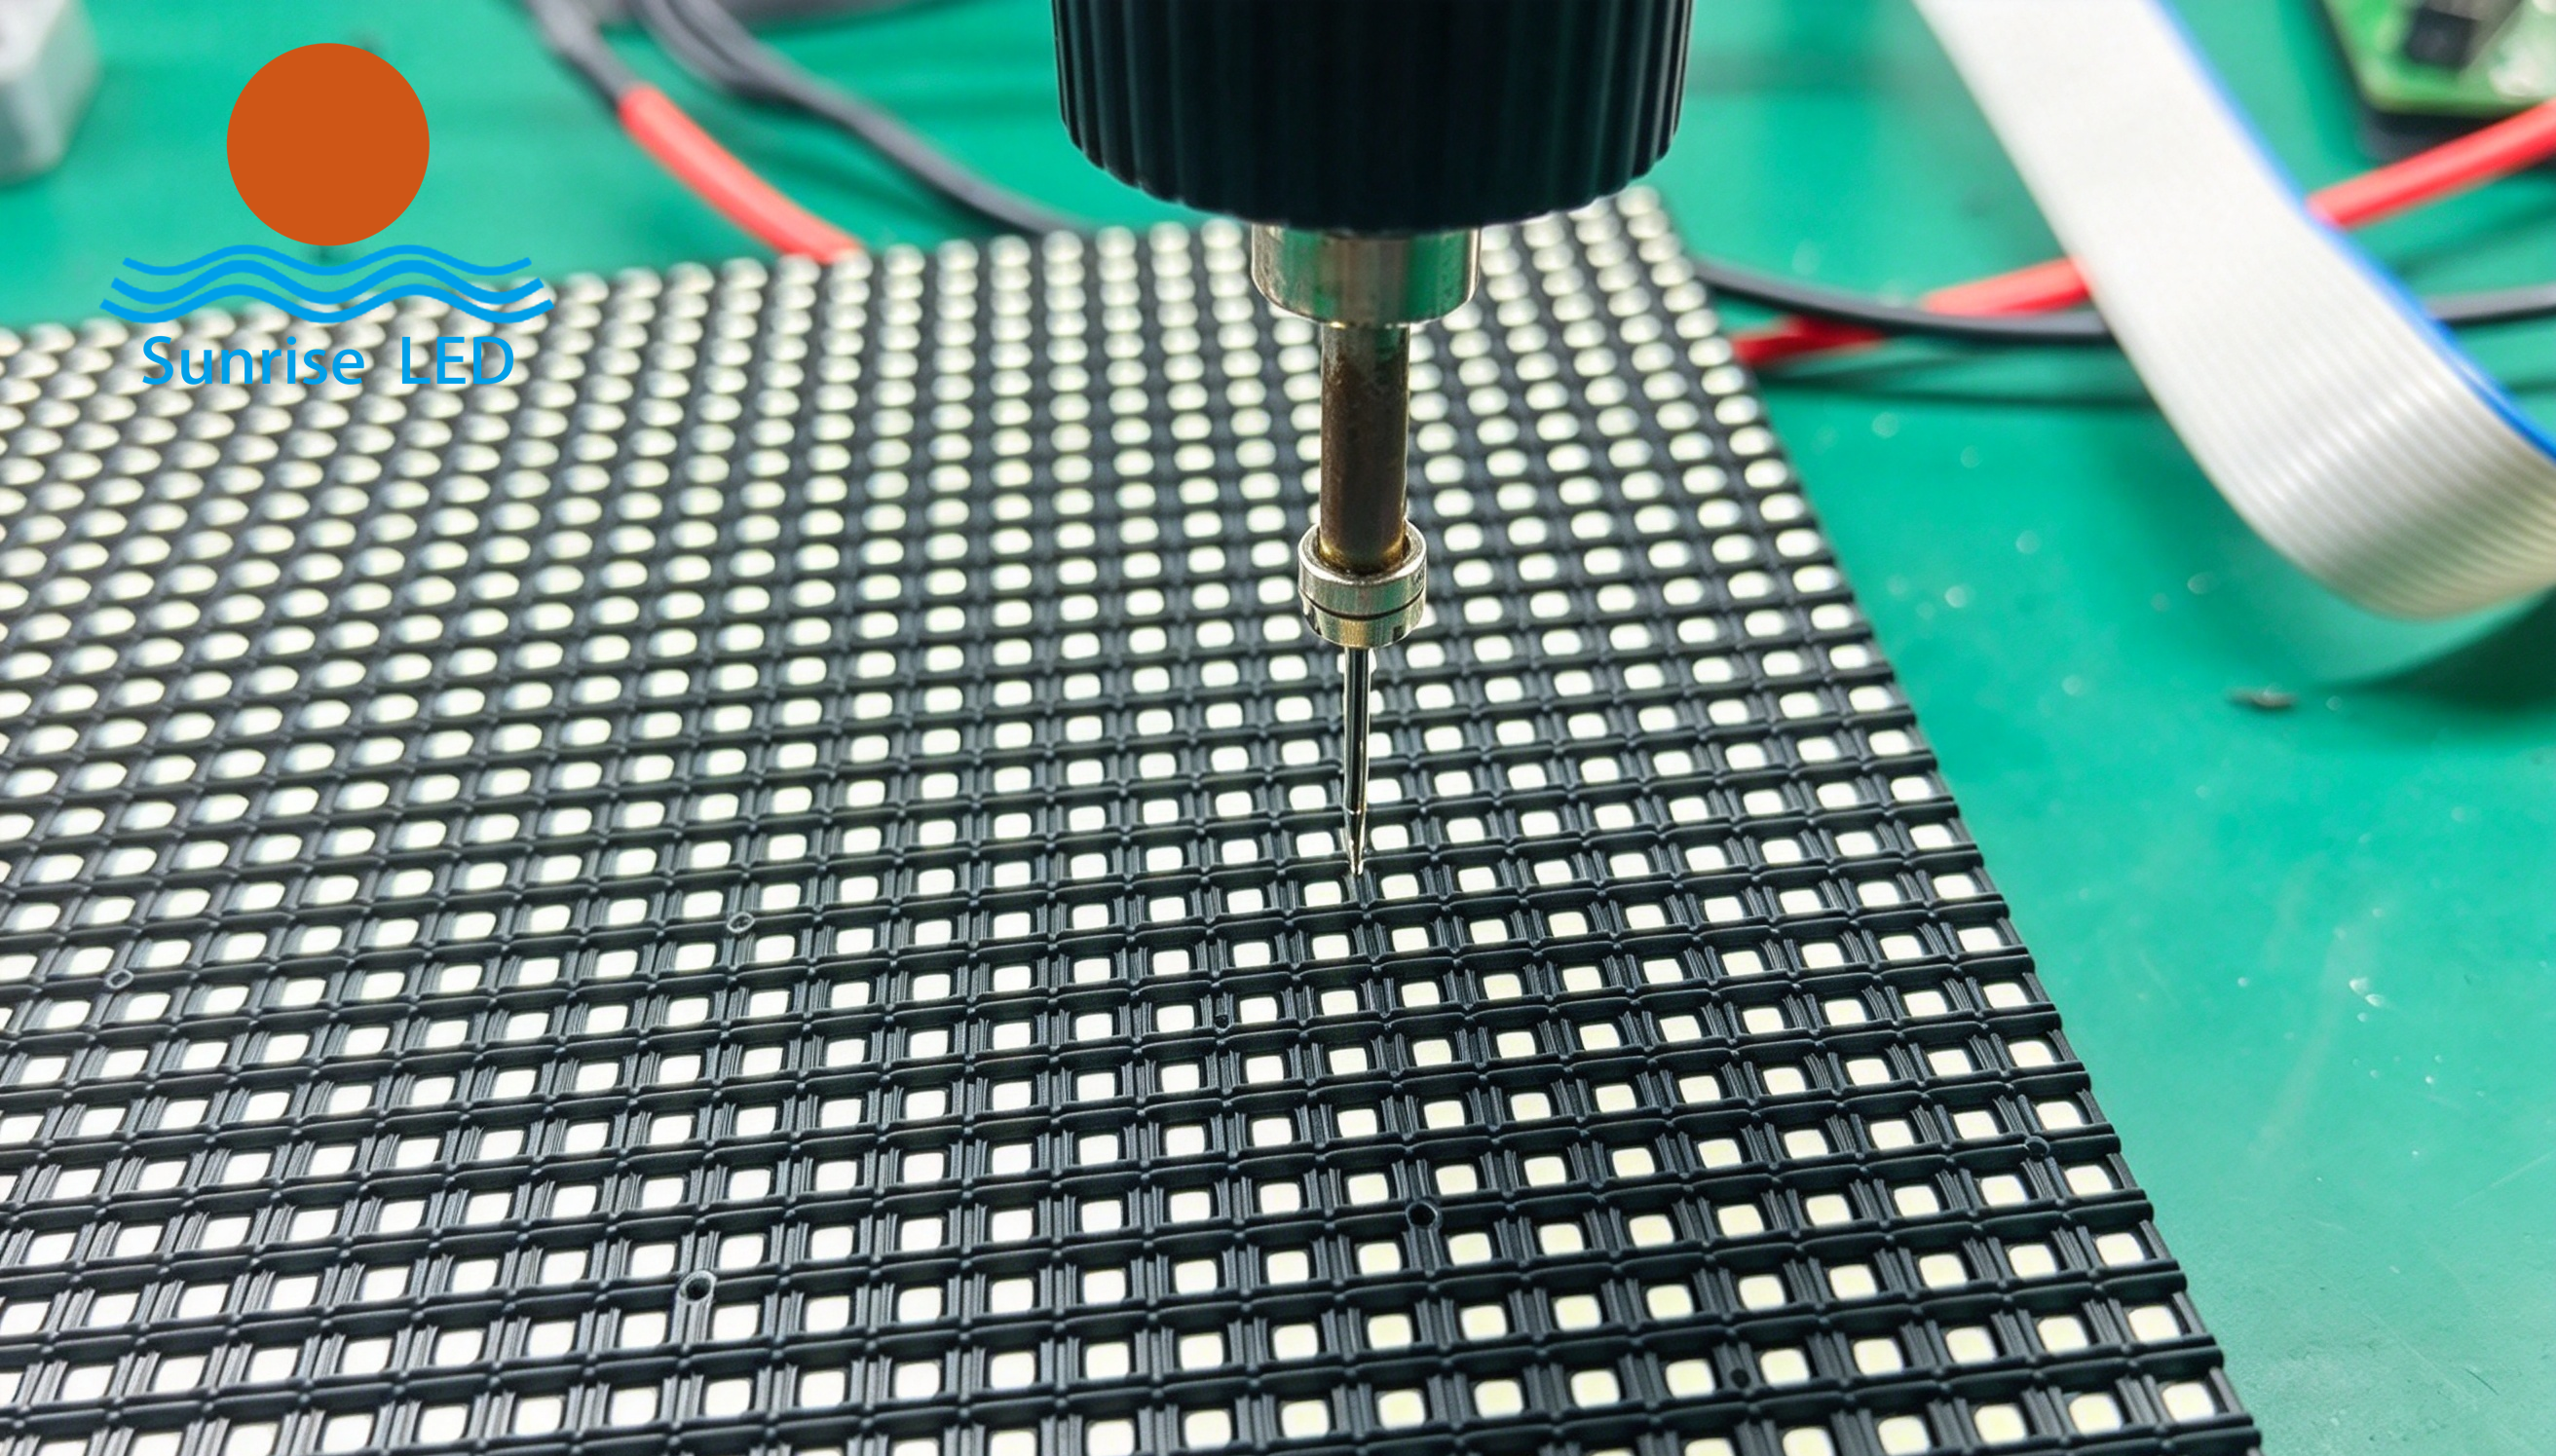
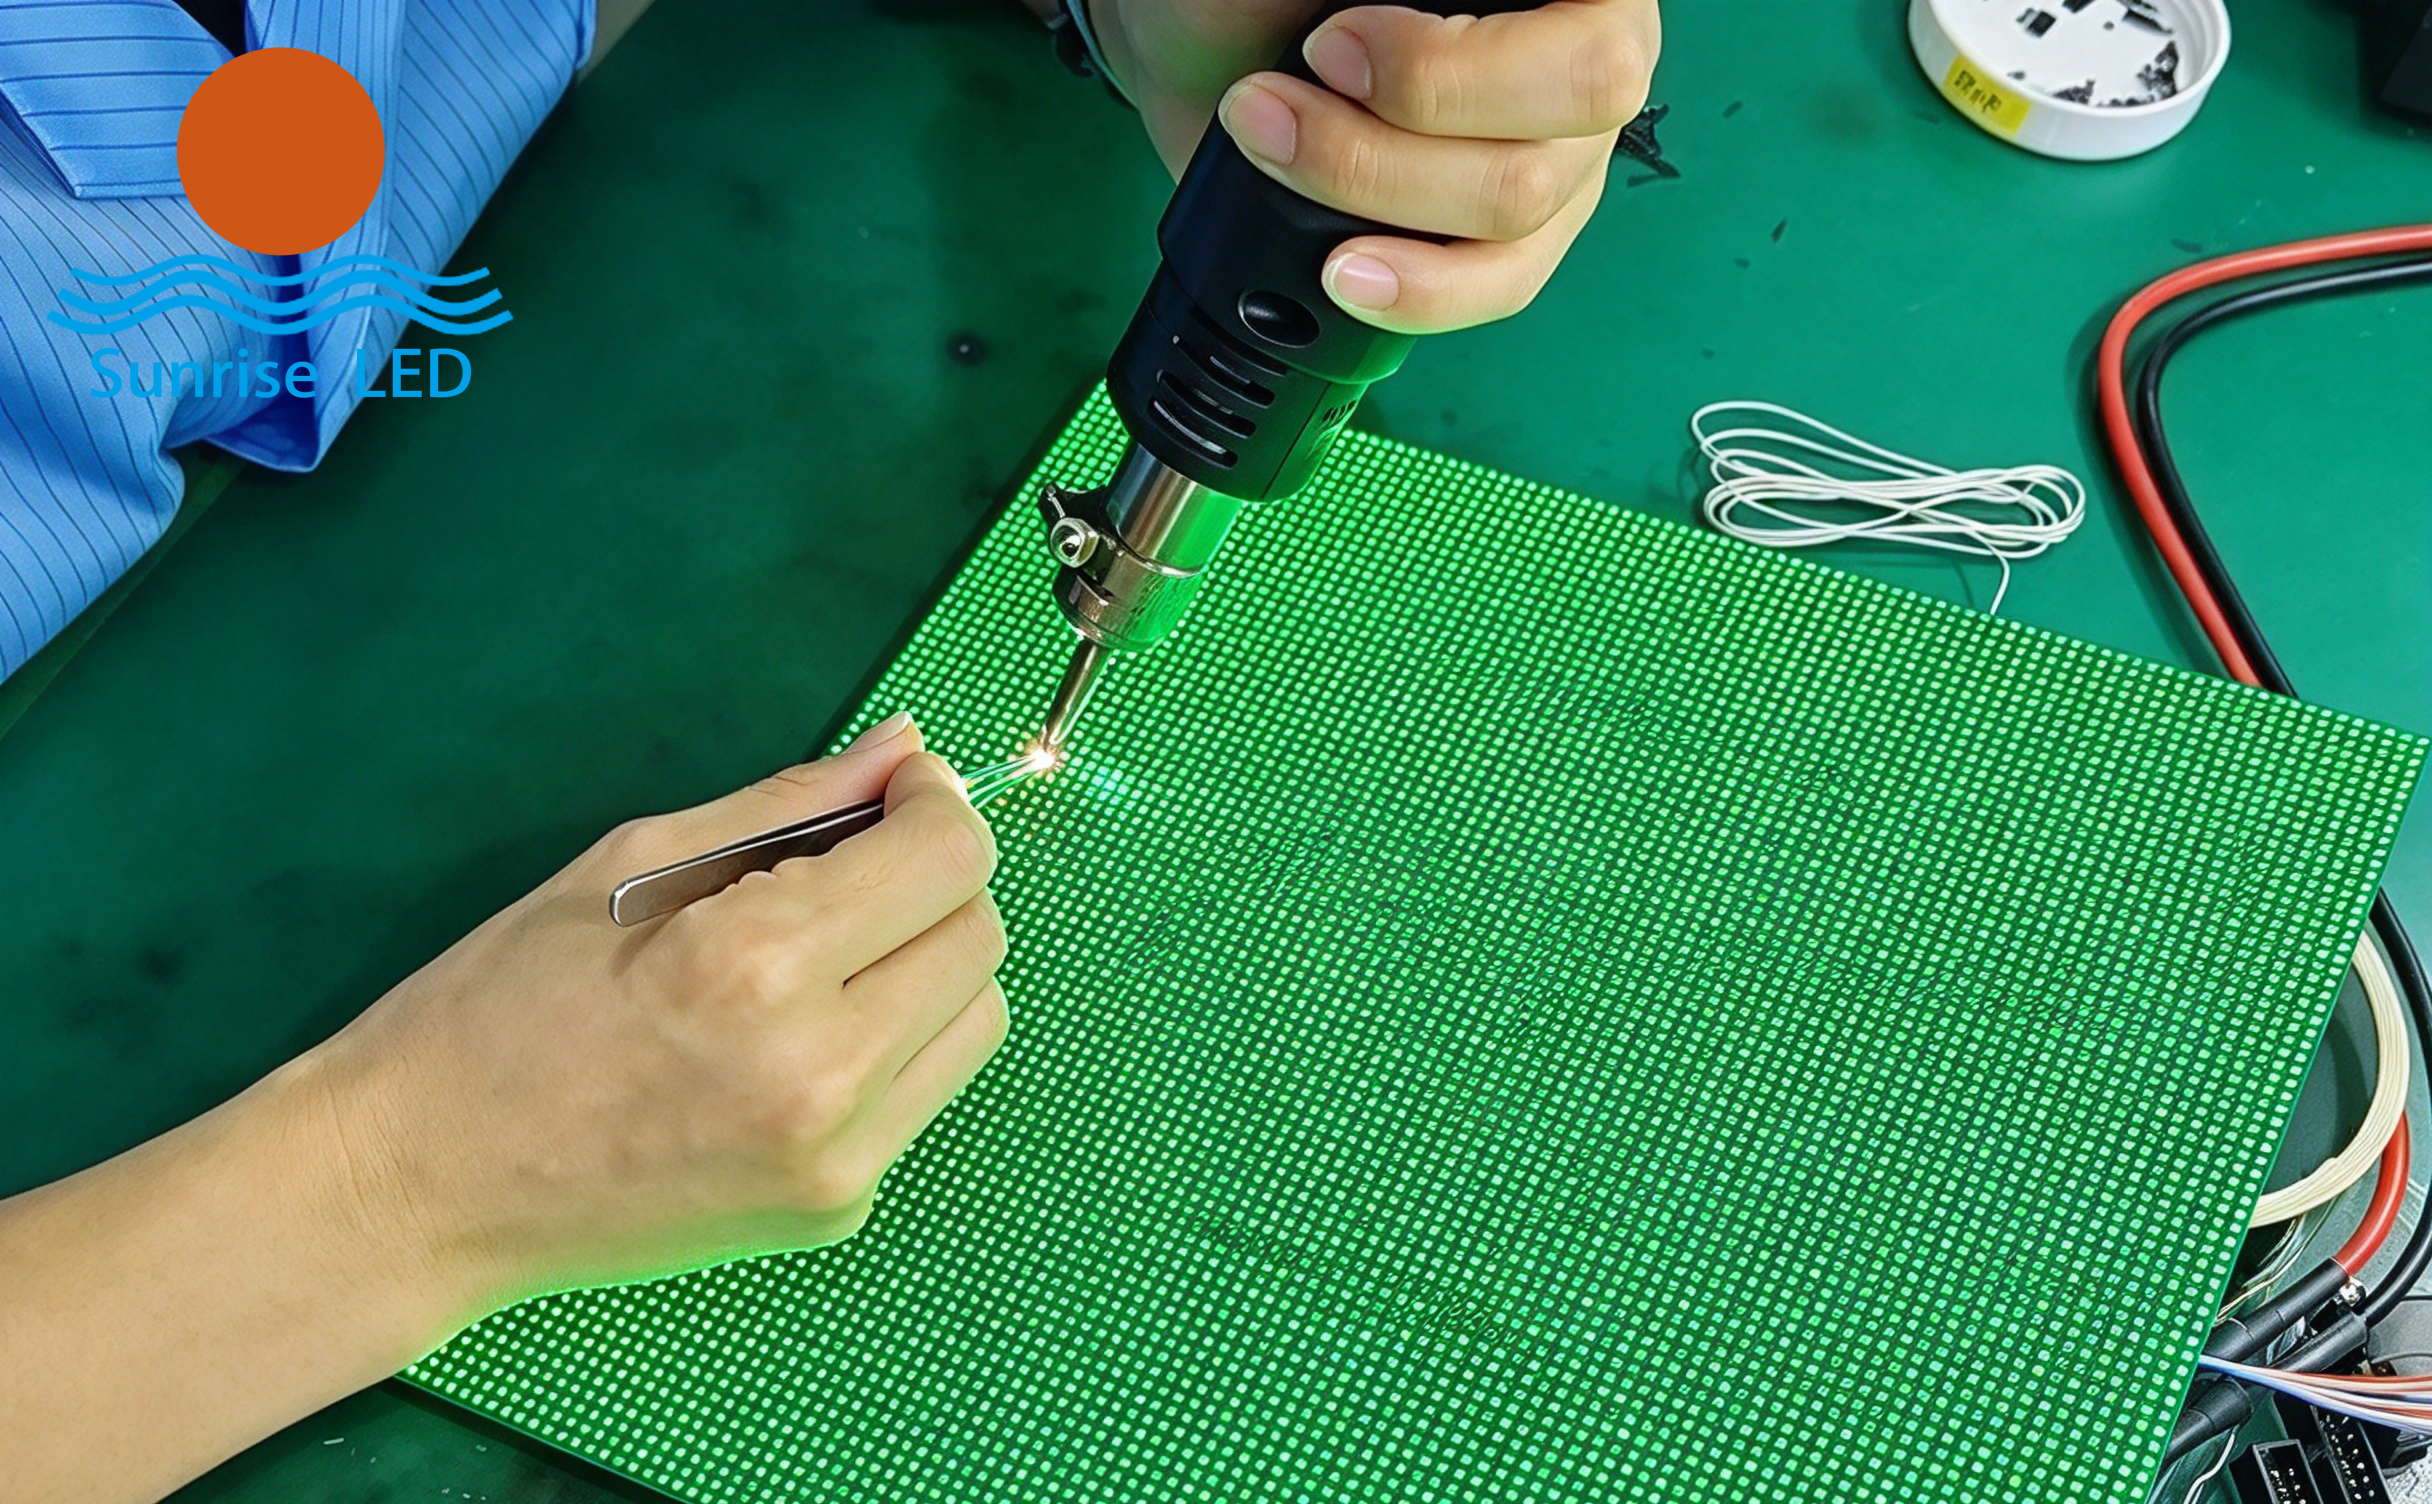
  • Set the heat gun to 300–340°C, medium-low airflow, and point the nozzle vertically at the faulty LED bead. Do not blow at an angle (this can easily blow away adjacent LED beads).
 
  • Heat for 5–10 seconds until the solder melts, then gently lift out the faulty LED bead with anti-static tweezers. Do not heat for too long, to prevent PCB pads from lifting and adjacent LED beads from burning or discoloring.
 
  • Clean the pads: apply a small amount of flux paste, use desoldering braid to flatten residual solder. The pads must be flat, clean, free of shorts and residual glue. If a pad is lifted, it must be repaired before further repair.
 
  • Simple soldering iron removal method: set the iron to 320°C, melt solder on one side and pry up with tweezers; then melt the other side and remove. Suitable for single-bead repair, not for ultra-fine pitch.
  • V. Place the New LED Bead (Polarity Is Most Important)
 
  • Observe the chamfer/white dot mark on the LED bead. The chamfer direction of the new LED bead must be exactly the same as the other LED beads on the module (matching the triangle mark on the PCB), corresponding to the RGB pins. If the direction is reversed, it will absolutely not light up.
 
  • Dip the pins of the new LED bead in a tiny amount of flux paste. Use tweezers to hold the LED bead, align it with the 4 pads, place it flat, and keep its height flush with surrounding LED beads. It must not be tilted.
  • VI. Solder the New LED Bead
 
  • Use the heat gun to heat vertically for 5–8 seconds until the solder melts; the LED bead will self-align. Once the solder wets all four pins, immediately remove the heat gun and let it cool naturally.
 
  • After cooling, visually inspect: solder joints should be rounded, with no solder bridges or shorts; the LED bead should not be tilted, and the adhesive body should not be burnt yellow.
 
  • Soldering iron soldering: first tack one corner, then solder the remaining pins. Each soldering operation should be ≤3–5 seconds to prevent overheating damage to the LED bead chip.
  • VII. Power-On Test
 
  • Connect the module to the test card and display red, green, blue, and pure white screens in sequence.
 
  • Observe: all three colors of that pixel light up normally, brightness matches surrounding pixels, with no flickering, dark spots, or color crosstalk.
 
  • If it does not light up: power off and check polarity, cold solder joints, or shorts. If brightness is inconsistent, perform module-level calibration later.
 
  • VIII. Restore the Module (Waterproofing Is Critical for Outdoor)
 
  • Indoor module: wipe clean, reinstall the mask, put the module back into the cabinet, and reconnect the ribbon cables.
 
  • Outdoor module: reapply transparent waterproof silicone at the repaired location. After it cures, reinstall the mask to restore waterproofing and prevent water ingress and secondary damage.
 
  • Power on the entire screen and perform a full-screen inspection. If necessary, use software to calibrate module brightness.
 
  • Key Precautions
 
  • Anti-static: Always wear an anti-static wrist strap and use an anti-static mat on the workbench. Do not touch the PCB or LED beads directly with bare hands; static electricity can cause latent breakdown of LED beads and driver ICs, leading to new dead pixels shortly after repair.
 
  • Control temperature and time: High temperatures and prolonged heating can burn the LED bead adhesive and lift PCB pads, which is the most common cause of repair failure.
 
  • Only replace with same-specification LED beads: Different brands have large differences in pin definitions and brightness, causing color differences.
 
  • If a pad lifts during repair, that position is very difficult to repair; the pad must be repaired or the module replaced.
 

Technology | analysis of naked eye 3D display technology

At present, the naked eye 3D large screen market is hot, and 3D technology is also known as 3D di...

Do you like ?3,255 views

Read more

Sunrise’s p2.604 curved LED display lights up under the Eiffel Tower

Sunrise’s p2.604 curved LED display lights up under the Eiffel Tower     Sunri...

Do you like ?2,111 views

Read more

Sunrise LED Rocky Rental Series led display for concert

Concert activities are popular in the United States, and sunrise’s products have been wide...

Do you like ?2,760 views

Read more

Sunrise 264 square meters Galaxy 3115 series mesh led facade in Armenia

  Sunrise 264 square meters Galaxy 3115 series mesh led facade in Armenia     Sun...

Do you like ?2,075 views

Read more

Sunrise led presents awards to excellent salesmen!

Doris, as a new salesman, won three orders in two months. It’s great.   Jack, the bu...
Do you like ?1,926 views

Read more

Our new product, led grow light, PPE reaches 2.6umol/j

640w and 800W full spectrum led grow light   It can be folded for convenient transportatio...

Do you like ?2,166 views

Read more

The latest project, Saudi Arabia LED MESH FACADE

The latest project, Saudi Arabia LED MESH FACADE. Ultra-high brightness, ultra-light LED display ...

Do you like ?2,707 views

Read more