2,809 views admin 2020-01-08
Step 1: Assemble the frame
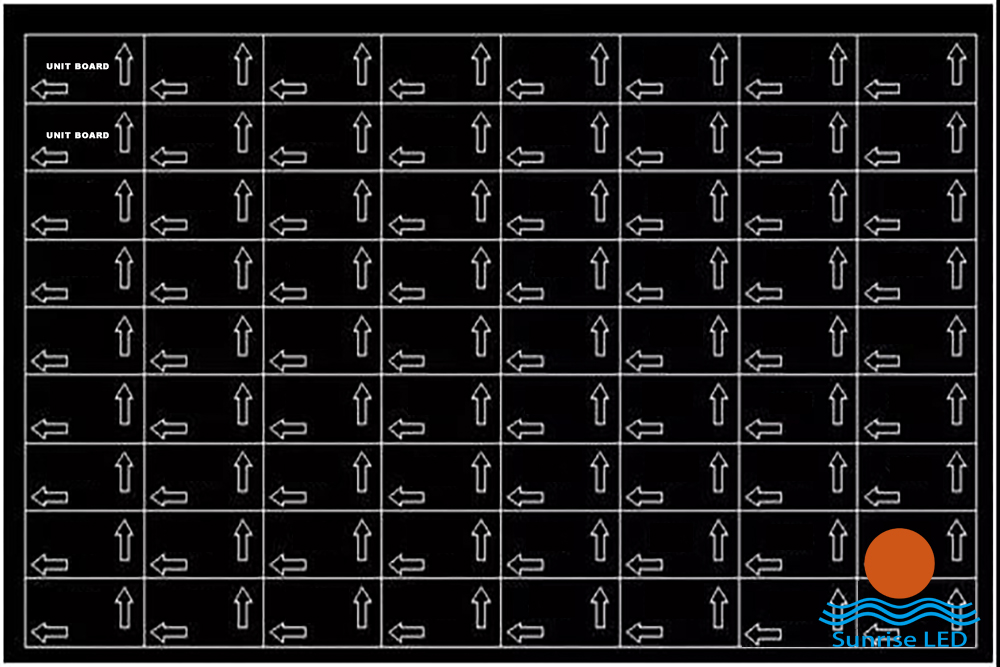
Here we use the 9045 profile to splice the frame structure first. Step 2: Fix the keel (9 keels on one screen, the center distance of the keel is 304mm, which is the width of a unit plate of φ3.75 (P4.75). If it is a unit plate of another model, follow the actual unit plate width or the unit plate magnet. Width to determine the keel spacing.)
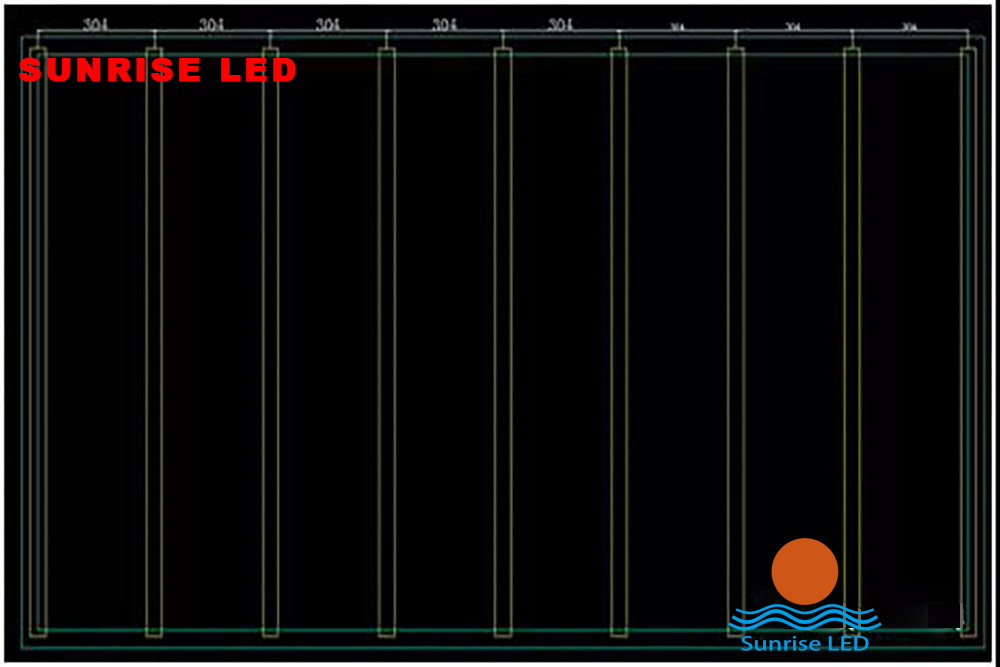
(As shown, the keel is fixed in sequence from left to right)
(Fix the position with a self-tapping hole, and then reinforce it with a screw)
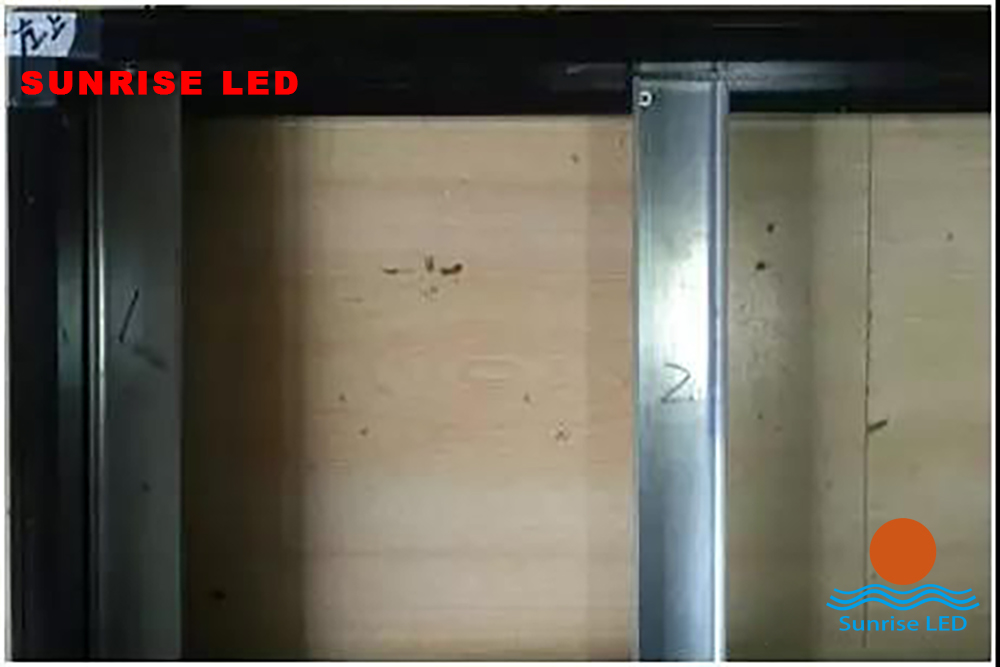
Step 3: Fix the square tube The square tube plays the role of supporting the tie knot, the main purpose is to strengthen the structure of the screen, and the fixed position can be adjusted according to actual needs.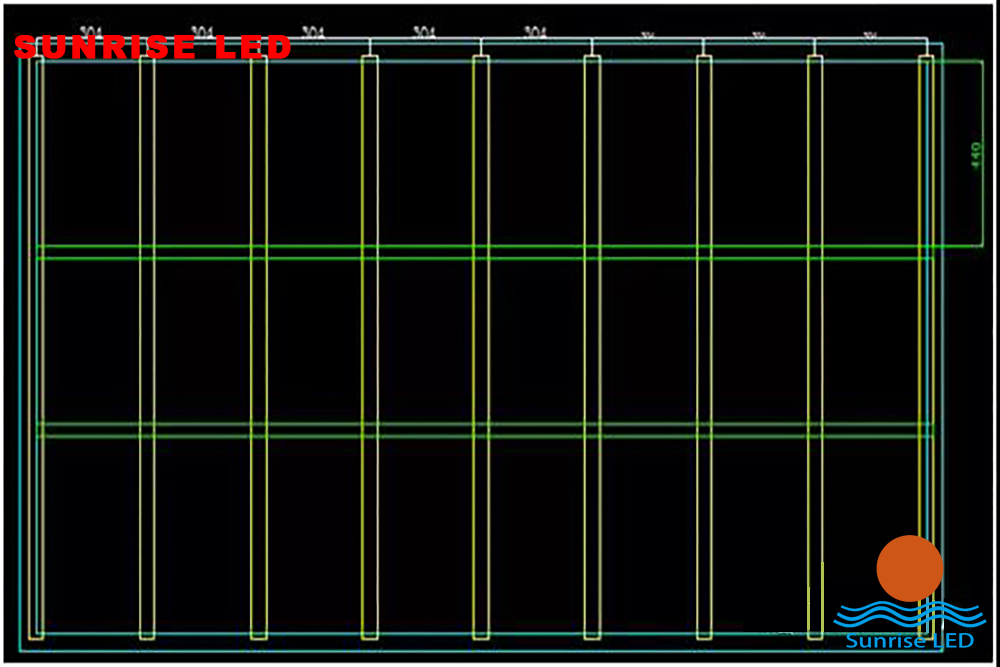 Step 4: Mount the frame on the wall
Lay out the power cable (RVV3 * 2.5) and network cable (GB-5 cable) to the installation location in advance
Step 4: Mount the frame on the wall
Lay out the power cable (RVV3 * 2.5) and network cable (GB-5 cable) to the installation location in advance
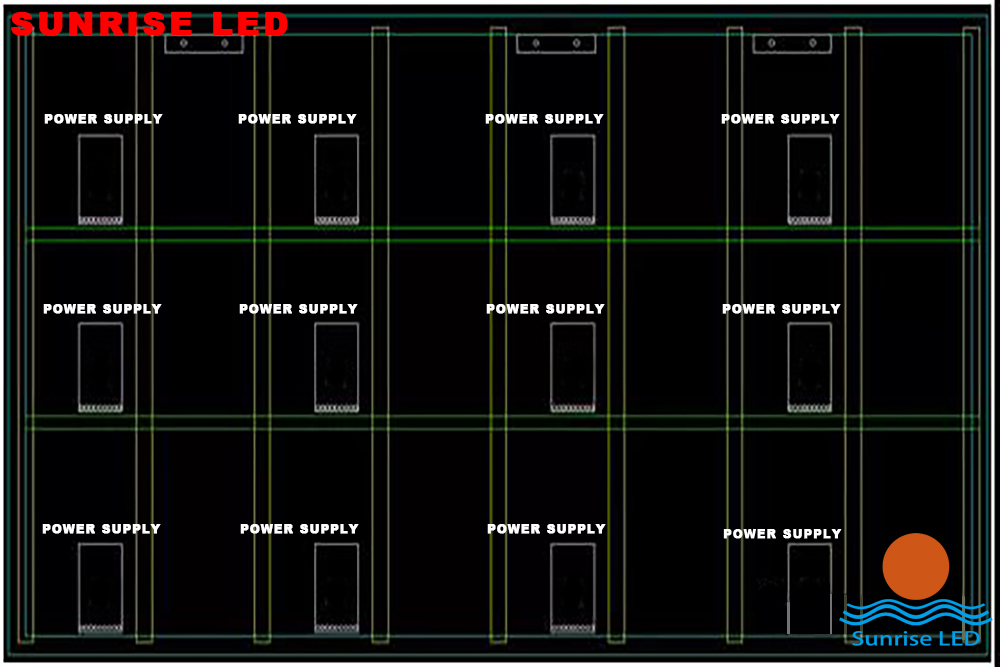
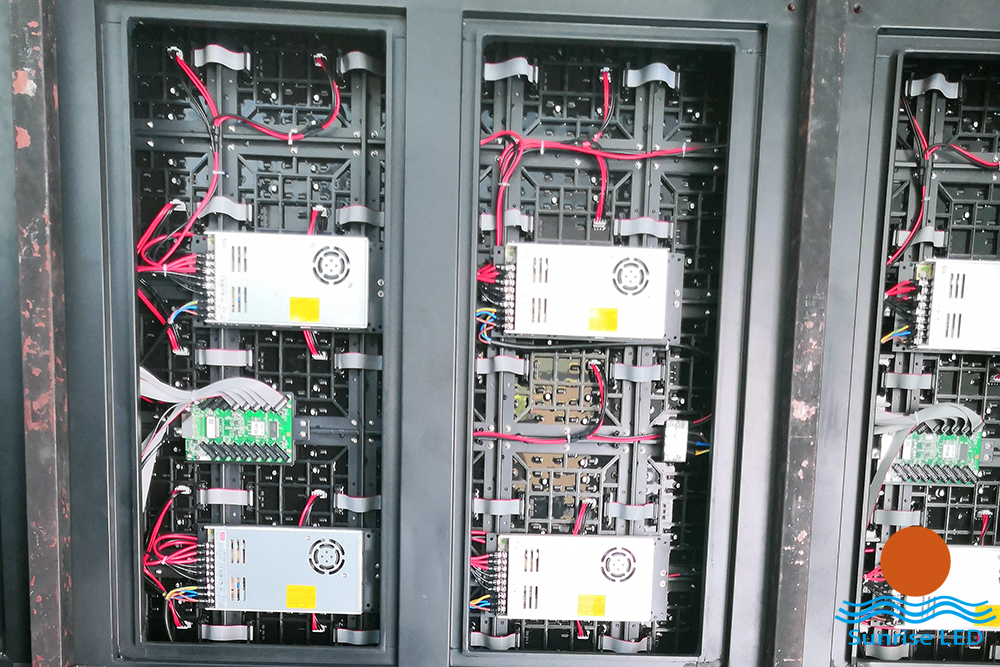
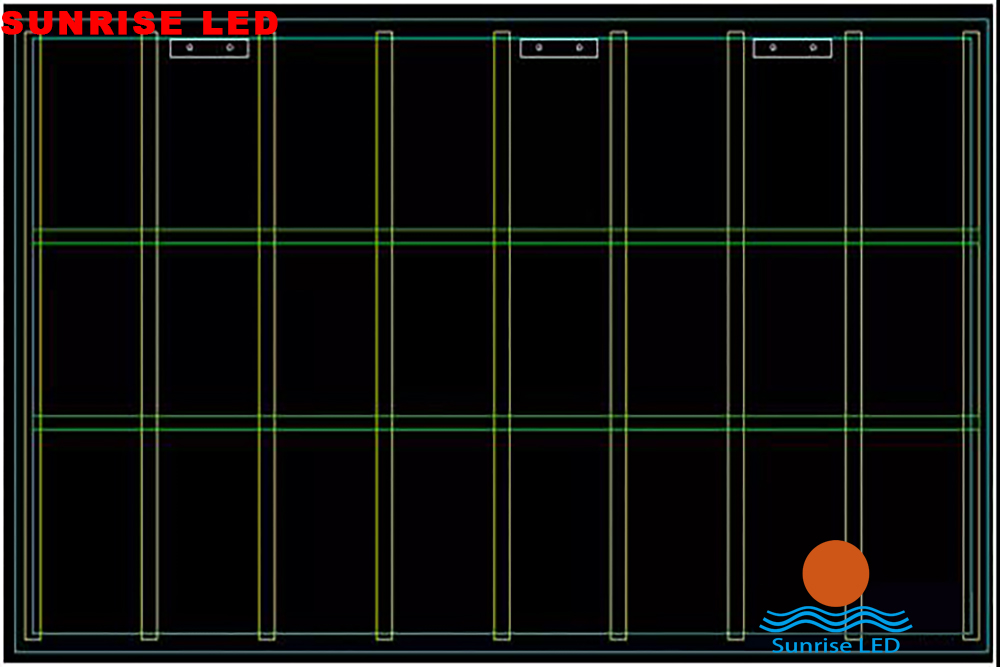 Step 5: Install switching power supply (12 power supplies for one screen)
Switching power supply wiring: one power supply connects 3 outputs to supply power to 6 unit boards
Fixed switching power supply (positioned as shown in the figure, relying on the square tube and keel, tied with a cable tie or fixed in another way)
Step 5: Install switching power supply (12 power supplies for one screen)
Switching power supply wiring: one power supply connects 3 outputs to supply power to 6 unit boards
Fixed switching power supply (positioned as shown in the figure, relying on the square tube and keel, tied with a cable tie or fixed in another way)
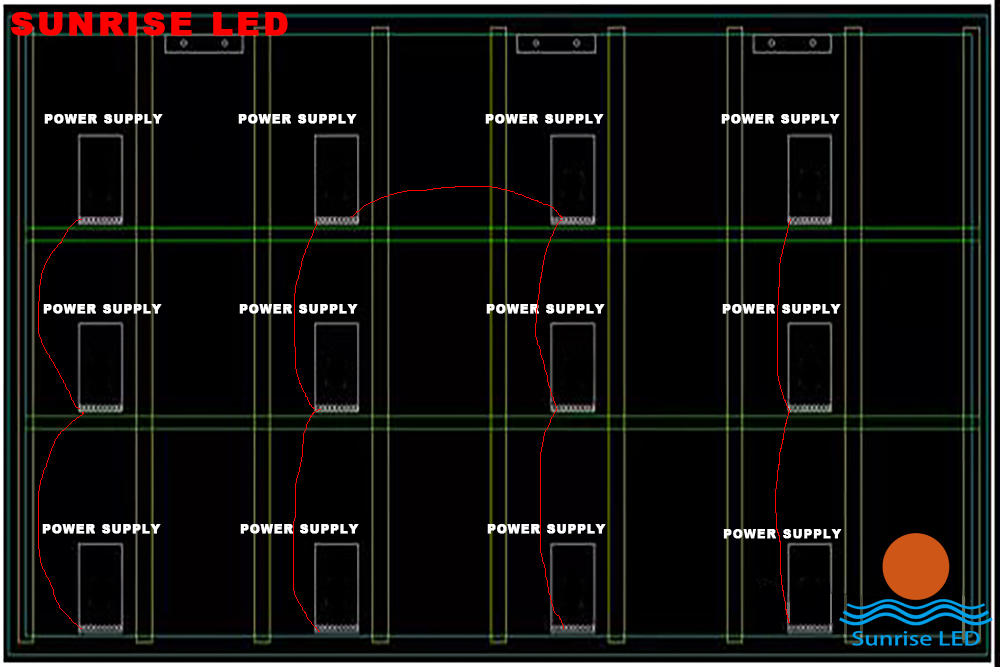
 Step 6: Switching power supply wiring
Use the RVV3 * 2.5 sheathed wire to snake the L, N, and ground terminal blocks of each switching power supply.
Step 6: Switching power supply wiring
Use the RVV3 * 2.5 sheathed wire to snake the L, N, and ground terminal blocks of each switching power supply.
 Step 7: Check the power wiring for short circuits and missing connections
 Configure a certain number of control cards of a certain model according to the screen size and model.
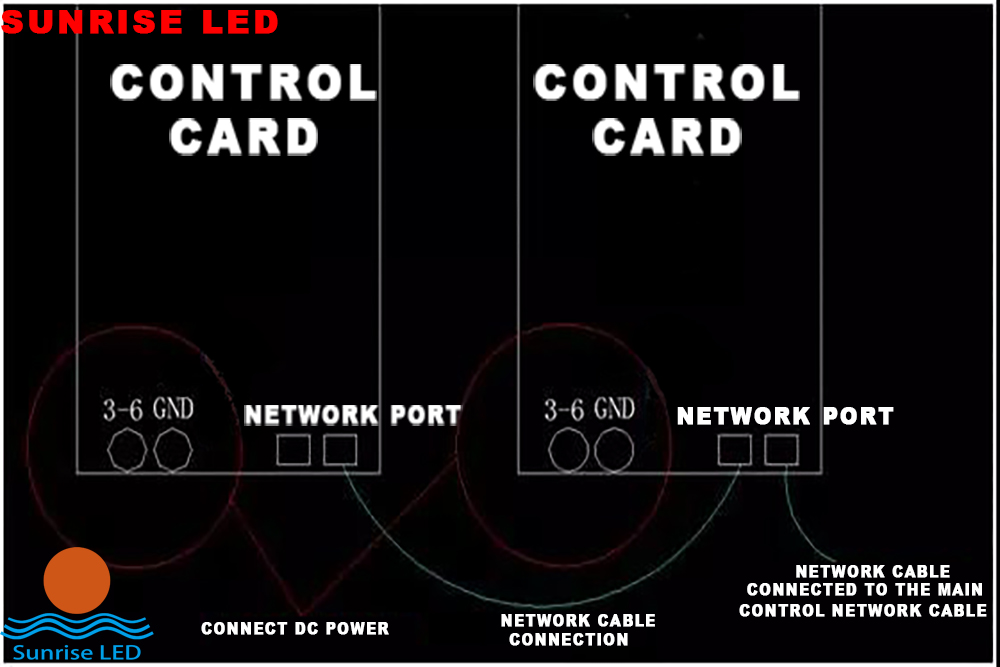
The above picture is the wiring diagram on the back of the screen (for reference)


Check the flatness and installation of the screen as a whole, and adjust if not satisfied
Power on to see if the screen is abnormal
Turn on the computer to install the control software and debug the screen.
Post a show.
This article is for reference only. The actual installation should be adjusted or supplemented based on the site conditions.
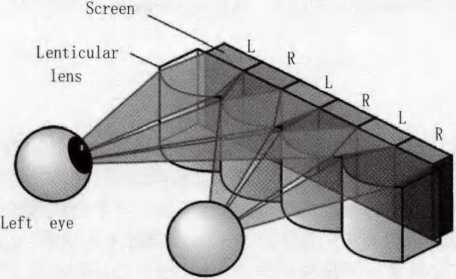
At present, the naked eye 3D large screen market is hot, and 3D technology is also known as 3D di...
Sunrise’s p2.604 curved LED display lights up under the Eiffel Tower Sunri...

Concert activities are popular in the United States, and sunrise’s products have been wide...

Sunrise 264 square meters Galaxy 3115 series mesh led facade in Armenia Sun...

Doris, as a new salesman, won three orders in two months. It’s great. Jack, the bu...
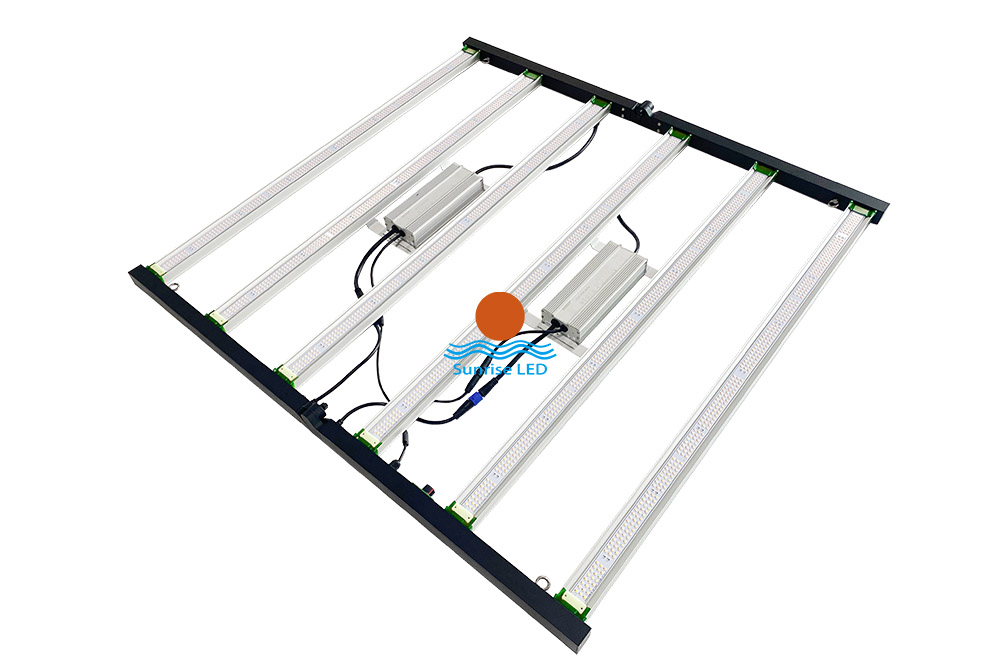
640w and 800W full spectrum led grow light It can be folded for convenient transportatio...

The latest project, Saudi Arabia LED MESH FACADE. Ultra-high brightness, ultra-light LED display ...